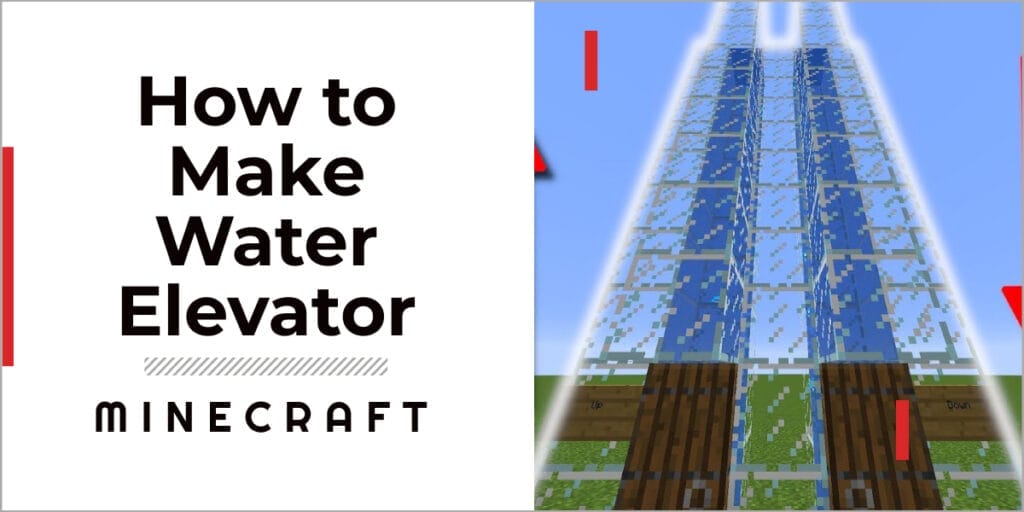
Is transportation a drag, and you want to learn how to make a Water Elevator in Minecraft? Here’s the solution to your problems.
Minecraft has such a vast world that it’s impossible to explore it on foot alone. That’s why there are various forms of transportation available in the game. There are lots of known traveling methods like horses and minecarts.
But things get trickier when you want to move vertically. You’ll have to make your own platforms, footholds, and ladders, and you’d have to consider fall damage. That’s why some ingenious players learned how to make a Water Elevator in Minecraft.
In this article, we’ll teach you how to do just that.
What is a Water Elevator in Minecraft?
A Water Elevator is a structure that players can use to quickly move up and down vertically in the water.
It is a type of transportation system that allows players to avoid the need to use ladders, stairs, or other traditional methods of vertical movement.
A Water Elevator can go up or down depending on the block placed at the bottom. Players usually have Water Elevators to easily and quickly go up and down to their house or base.
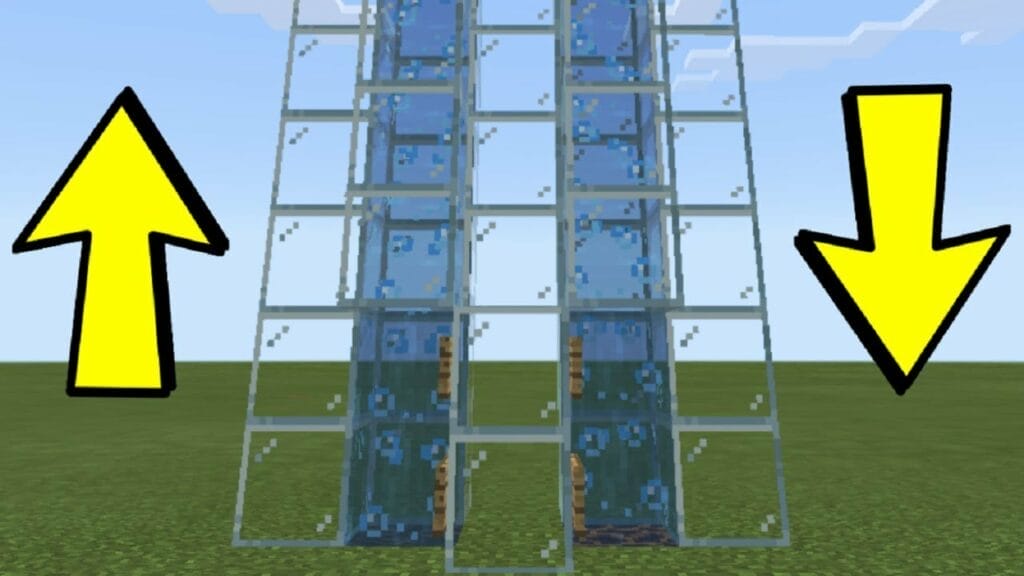
However, a Water Elevator can only go in one direction depending on the bubble streams. That’s why you have to build two.
You only have to invest some time and effort once, but it will definitely be useful in the long game.
How to Make a Water Elevator in Minecraft

1. Gather the materials
First, you have to obtain the needed items for a Water Elevator
- Lots of Building Blocks (Preferably Glass)
- 2 Buckets of Water
- Stack of Kelp
- 4 Wooden Doors
- Magma Block
- Soul Sand Block
Building Blocks
First, collect the building blocks for your elevator. You can use anything that’s available, like Cobblestone, but we recommend Glass or Stained Glass for Aesthetic Purposes.
You would need blocks 4x the height of your Elevator. So if you want your Elevator to be ten blocks tall, you should have 40 Glass blocks.
Water Bucket
Next is the water of course. Make a Water Bucket and use it on a River or Ocean to collect your water source. Since we’ll be making two elevators, make sure you get two water buckets.
Kelps
Now you might be wondering, how can 2 buckets of water become an elevator? Well, as it is, it’s nowhere near enough to be a water source block for a bubble stream.
But before you start fetching tons of water, you’ll be glad to know that putting Kelp on flowing water will turn that into a Source Water Block.
Soul Sand and Magma Blocks
These two will determine the direction of your bubble stream and which way entities will be carried.
If you use Soul Sand the elevator would be floating upwards, while Magma Blocks will make the elevator go downwards. You can get both of these from the Nether.
Wooden Doors
Doors are there to keep the water from flowing out of the elevator.
Step 2: Make the Elevator’s Enclosure

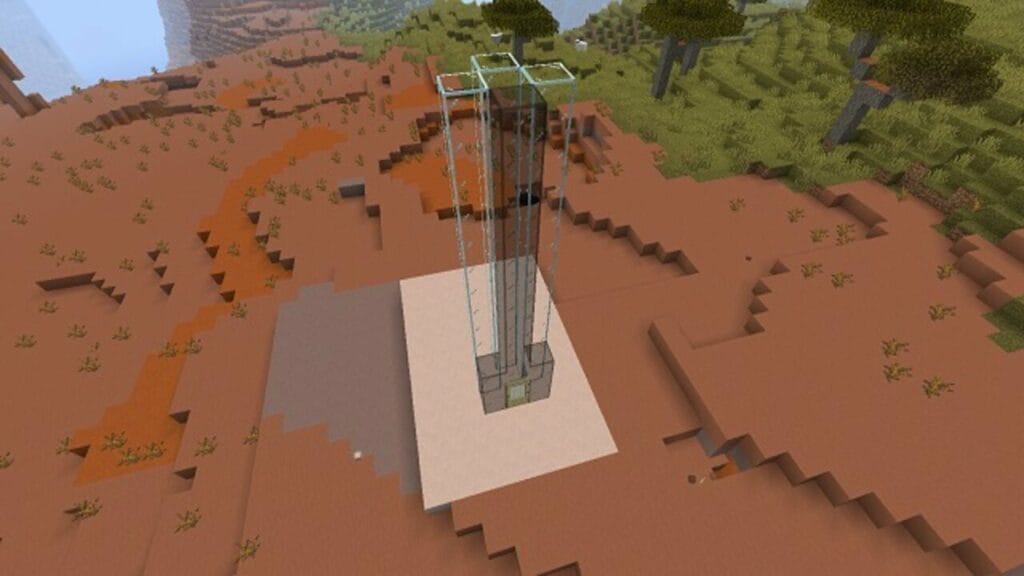
Now that you have all the materials start by making 3 towers of Glass around a single block of space and leave the last side open.
The towers should have the same height, and this will determine how high your elevator will be.
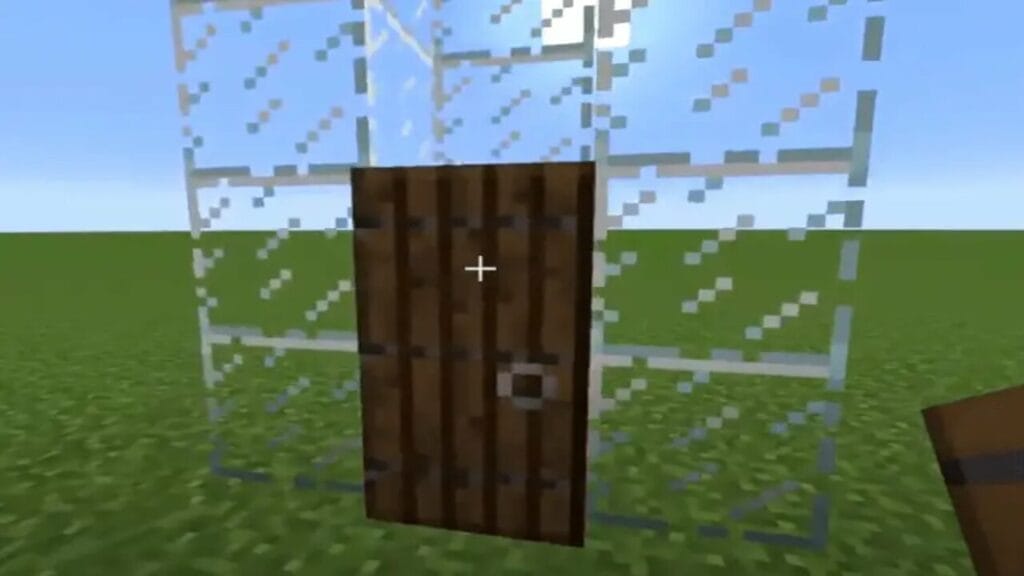
Step 3: Place the Wooden Door

The fourth side left open in the previous step, is where we will put the Wooden Door to serve as our entrance to the Elevator. Once you have placed your door-like structure, build the 4th glass tower above it.

Step 4: Add Water
Now that your elevator’s skeleton is done, it’s time to add water. Go to the top of your glass towers and get your water bucket to place a block of water inside the structure. It will automatically flow down to the bottom.
Step 5: Add Kelp

To turn your water block into a Water Source Block, you need to make a Kelp tower by placing Kelp starting from the bottom to the top.
Now you can break the bottom-most Kelp piece, and you’ll be left behind with independent Water Source blocks.
Step 6: Determine Your Elevator’s Direction
Now all your Water Elevator needs is bubble streams. Mine the block at the bottom of the water and replace it with either Magma Block or Soul Sand Block.
Soul Sand Block: This will create an upward flow of water and will carry any player, entity, items, and mobs to the top of the elevator.
Magma Block: This will create a downward flow of water and will take any player, entity, items, and mobs to the bottom of the elevator.

Step 7: Create an Opposite Water Elevator
In order to be able to go up and down, you need two elevators. So if you made the first elevator go upwards, you have to build a second one to bring you down safely.
All you have to do is repeat Steps 1 through 5 and replace the Soul Sand Block with Magma Block or vice versa.
Frequently Asked Question
How to use a Water Elevator in Minecraft
To use your water elevator, simply enter through the door, and you can go upwards.
If you want to go down, just dive into the water, and you’ll instantly go to the bottom without taking fall damage. You can make navigation and landing easier by adding platforms on your elevators.
More guides
- How to Get XP Fast In Minecraft: Level Up in No Time!
- How To Make Terracotta in Minecraft? A Crafty and Colorful Guide
- How to Find Ancient City in Minecraft: A Roadmap to Uncovering Hidden Secrets
- How to Make a Lantern in Minecraft – A Step-By-Step Guide for Beginners
- 6 Best Boot Enchantments in Minecraft: Not Your Typical Fancy Footwear
Conclusion
That’s how to make a Water Elevator in Minecraft. It’s a bit complicated and will require some effort, time, and lots of Glass. But with this one-time investment, you can move vertically around your base, transport items, and save tons of time.
If you also want to elevate your Minecraft gaming experience, skills, and knowledge, make sure you check out our Minecraft section.
Image Credits: BeeBom/Tech Info Geek/The Guru Gamer
